
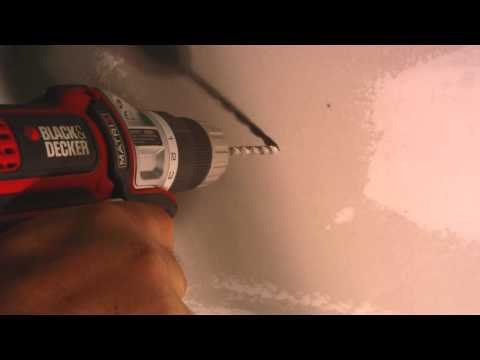
This video demonstrates installing plastic wall anchors for common household items such as pictures, mirrors, pipe straps, and dispensers. The important detail is that not all anchors and walls can safely carry the same loads.
Watch the Original Handyman Problem Fixer Video

Watch on YouTube. This is a written companion guide using the original video’s description and general maintenance information, not a transcript.
Match the anchor to the wall
A standard plastic conical anchor relies on expanding inside an appropriately sized hole, typically in drywall or masonry depending on the product. Different materials require different anchors. For tile, plaster, concrete, or hollow walls, identify an approved anchor system for that material.
Choose a load rating carefully
Check the manufacturer’s rated load and whether the load is shear or pull-out. Heavy mirrors, handrails, shelves, televisions, and anything that could injure someone if it falls may need attachment to structural framing or an engineered fastener rather than a basic lightweight plastic anchor.
Make the correct hole
Follow the anchor maker’s drill-size instructions. An oversized hole reduces holding strength, while a hole that is too small may bend or crush the anchor. Locate electrical cables and plumbing before drilling, especially near outlets, faucets, and wall-mounted utilities.
Secure and recheck
Use the specified screw size and avoid overdriving it. The anchor should not spin or pull out when the item is installed. If the drywall is damaged, wet, crumbling, or previously patched, relocate or use an appropriate repair and fastening approach.
Relevant Amazon Tools and Accessories
Affiliate disclosure: As an Amazon Associate I earn from qualifying purchases. These are affiliate links; Handyman Problem Fixer may earn a commission from qualifying purchases at no additional cost to you. These links open Amazon search results rather than specific product listings, so verify model compatibility and current availability.
See additional repair videos and written DIY guides.


0 Comments