
Affiliate disclosure: As an Amazon Associate I earn from qualifying purchases. This article contains affiliate links.
Practical guide • Updated October 11, 2026
The best basic homeowner tool kit is the one that helps you finish a small job without turning the kitchen table into a hardware store. A loose cabinet pull, a picture that needs hanging and a flat-pack bookshelf do not require every tool in the catalog. They require a few dependable tools, the right fasteners and enough patience to understand the job before touching anything.
At Handyman Problem Fixer, the useful question is not how impressive a toolbox looks. It is what you can accomplish with it. Start with the tasks you actually face, build a compact kit around them and add specialty tools when a real project justifies the purchase. This guide gives you a practical buying order, a way to compare options and a storage plan that keeps useful tools within reach.
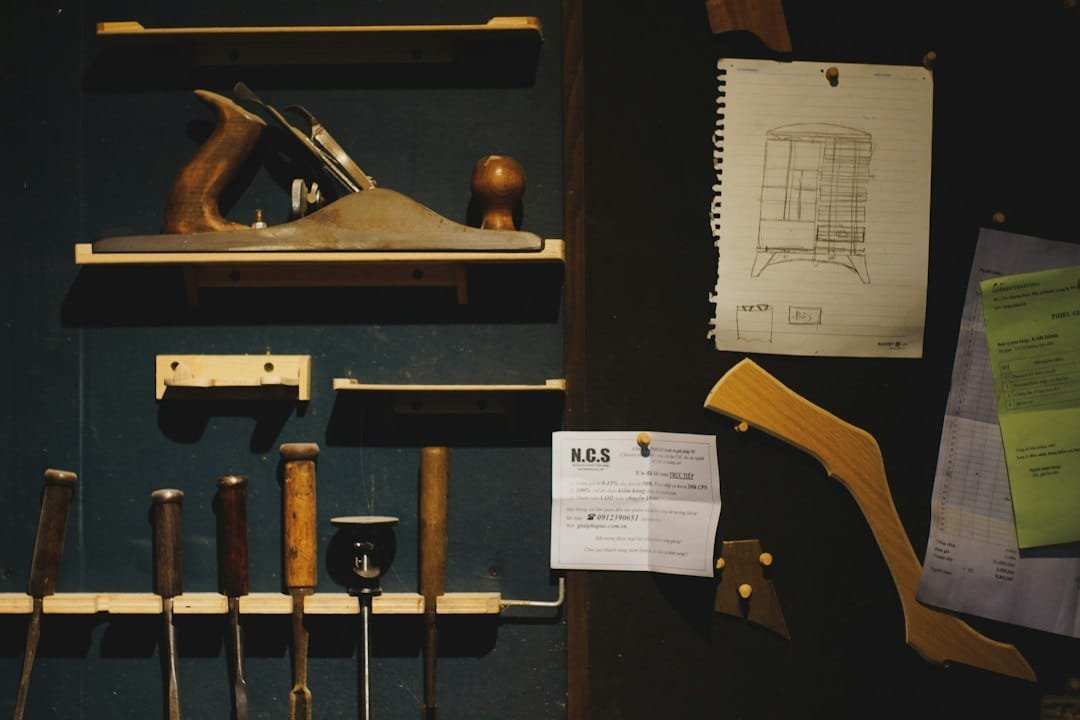
Featured illustration: Illustrative stock photograph. Photo by Minh Đức / Unsplash. The image does not identify a local property or location.
Start with a list of jobs, not a shopping cart
Walk through your home with a notebook. Write down five ordinary problems you want to address: a crooked picture, a loose handle, a squeaky hinge, a shelf that needs assembly or a drawer that catches. Then write down what each job requires. The picture may call for a tape measure, level and suitable wall hardware. The handle may only need a screwdriver that fits correctly.
This small exercise separates tools from wishes. If every task involves measuring and driving screws, those are your priorities. If none involves cutting lumber, a large saw is probably not the next purchase. A bargain on a tool you will not use is still money removed from the budget for something helpful.
Give each planned job a boundary. Replacing a cabinet knob is different from changing a hardwired light fixture. Wall-mounted items require an understanding of the wall material, hidden utilities and the load. If you cannot establish those details, get experienced help before proceeding. A starter kit should encourage sensible maintenance rather than make every unfamiliar job feel automatically safe.
Measuring tools earn their space first
A tape measure, a small level and a pencil can prevent more wasted effort than a powerful drill. Choose a tape with markings you can read clearly, a lock that feels reliable and a housing you can grip comfortably. Check how easily the blade retracts before buying. A tool that fights you during a measurement becomes frustrating quickly.
A compact level is handy for pictures, small shelves and checking whether an assembled item sits squarely. A longer level can come later if your projects require it. Do not assume a phone application gives the same result in every situation; cases, uneven surfaces and positioning can complicate a reading. Whatever you use, check it against a known reference and pay attention to the setup.
Keep a pencil and small notebook beside the measuring tools. Record dimensions immediately, including which number represents width, height or depth. A note that says “inside opening, width 23 inches” is useful. A loose scrap that says “23” is a guessing game. Photographing the item with the measurements written nearby can help when you are comparing hardware at the store.
Choose screwdrivers for fit and control
A few good screwdrivers can cover many everyday jobs. Look for common sizes that match the screws around your home instead of purchasing a huge assortment solely because it has more pieces. The tip should seat securely in the screw recess. A nearly correct fit is often what starts damage to a screw head.
A multi-bit screwdriver is a reasonable space-saving option if its bits stay firmly in the holder and the handle feels comfortable. Separate screwdrivers can be convenient when you switch repeatedly between two fasteners. Neither approach wins automatically. Try the grip, inspect the storage arrangement and consider whether replacement bits are easy to find.
Do not use a screwdriver as a pry bar, chisel or improvised electrical tester. Those jobs call for different tools and knowledge. For delicate hardware, begin by hand so you can feel resistance. It is much easier to stop before a hinge screw strips than to repair the damaged screw after a power tool has spun through it.
Add gripping tools without buying every variation
An adjustable wrench and a pair of suitable pliers make sense for many kits. They let you hold, grip or turn hardware within their intended use. Choose tools with jaws that align properly and handles that fit your hand. A wrench should adjust smoothly and hold its setting without excessive play.
The goal is controlled contact with the hardware. A loosely adjusted wrench can round a nut. Pliers can mark a finished surface or crush a small component when used carelessly. If preserving the appearance matters, pause and find the correct tool or a manufacturer-approved approach instead of squeezing harder.
Needle-nose pliers may be useful for retrieving a small part in a narrow space. Larger groove-joint pliers may be useful for other maintenance. Buy the type your task list supports. Do not confuse having a gripping tool with having the expertise to work on gas, pressurized systems or electrical equipment. Those boundaries remain even when a tool fits into the space.
A drill is useful when the basic kit is already working
A cordless drill can speed up assembly and pilot-hole work, but it is not a substitute for selecting the right bit or understanding the surface. Pick a tool you can hold steadily with one hand on the grip and the other positioned as the manual directs. Weight, balance and controls matter more for everyday use than a dramatic advertising number.
Read the instructions for your exact model. For example, DEWALT’s manufacturer instructions for a compact screwdriver explain its controls and application limits; another tool may operate differently. Match the charger, battery and accessories to the manufacturer’s requirements. Do not infer compatibility from the fact that two batteries look similar.
Choose a modest collection of appropriate bits. Drill bits and driving bits serve different purposes, and the surface determines the choice. Practice on suitable scrap material before starting a visible project. For screwdriving, learn how the clutch behaves, begin conservatively and finish delicate fasteners by hand when that gives you better control.
Fasteners need a system of their own
A tool kit feels incomplete when you have a screwdriver but no screw that fits the job. Keep a small, labeled selection of hardware for tasks you genuinely repeat. Labels should identify size and intended use rather than just “extra screws.” Retain the packaging or instructions for wall anchors, since the installation method and rated application matter.
Avoid the universal junk jar. A mix of unidentified screws, bent nails and random anchors looks resourceful until you need to know which item is appropriate. Sort usable hardware into compartments. Put unknown pieces in a separate container so they cannot quietly become your default choice for supporting something heavy.
Do not select wall hardware only by its appearance or by a number printed on a package. Wall construction, condition, installation and load direction matter. Follow the manufacturer’s instructions for the actual substrate. If you are uncertain about a heavy mirror, television or overhead item, have the mounting plan assessed before drilling.
Lighting and protection belong in the same box
A small work light or flashlight is valuable when you are trying to see a screw inside a cabinet. Choose lighting that can sit securely rather than something you have to balance on an unstable stack. Seeing the work clearly helps you notice a cracked part or a mismatched fastener before you apply force.
Include eye protection appropriate to the task and keep it clean enough to use willingly. Other protection depends on the material, tool and work environment. Check the product instructions rather than treating one pair of gloves or a basic mask as a solution for every hazard. Loose clothing, jewelry and distractions can also interfere with controlled work.
In older homes, disturbing painted surfaces can require additional precautions. Before sanding, scraping or drilling into suspect materials, identify the relevant hazards and appropriate professional help. A beginner kit should not include an expectation that you can safely improvise your way through an unknown coating or hidden material.
Compare value by the whole purchase
A low advertised price can hide missing batteries, a flimsy case or bits that do not match your needs. Compare what is included, replacement-part availability and the manufacturer’s support. Think about the complete cost of using the tool for your first planned job rather than the price of the bare item.
For occasional tasks, borrowing or renting can make more sense than buying. Make sure you know how the borrowed tool works, that its condition is suitable and that the required accessories are present. A tool handed over without instructions or the right guard is not a shortcut worth taking.
Avoid treating expensive equipment as proof of skill. A carefully measured project finished with simple tools is better than a rushed project completed with premium equipment. Save some of the budget for the correct hardware and materials. Those less glamorous purchases often determine whether the result lasts.
Make the kit easy to put away
Choose a container you can carry comfortably and open without dumping everything onto the floor. A small tool bag works well when pockets make the contents visible. A box with removable compartments may suit hardware better. The right storage choice is the one that lets you confirm, at a glance, that the tools are back.
Create a simple reset routine after each job. Remove debris, return bits to their holders, inspect damaged items and write down anything that needs replacement. Follow the manufacturer’s battery-storage guidance. Keep the kit in a dry, suitable location away from children and from materials that could damage tools or create a hazard.
Leave a little empty space. An overfilled bag becomes difficult to search and encourages you to leave items scattered elsewhere. The purpose of organizing a basic homeowner tool kit is to reduce the time between noticing a small problem and making a sensible plan to address it.
Your first purchase plan
Start with measuring tools, a few well-fitting screwdrivers, a practical gripping tool and useful lighting. Add a drill when several planned jobs justify it. Keep fasteners labeled, understand your limits and learn one tool at a time. That approach gives each purchase a reason to exist.
Before your next project, place only the required tools on the work surface. Read the instructions, inspect the material and decide what would make you stop. When the work is finished, photograph the result and note what you learned. A compact kit grows into a dependable one through thoughtful use, not through the number of items you can pack inside it.
For more practical troubleshooting, explore Handyman Problem Fixer. Use the guides as preparation, match advice to the actual materials in your home and bring in qualified help when a job exceeds your experience.


0 Comments