
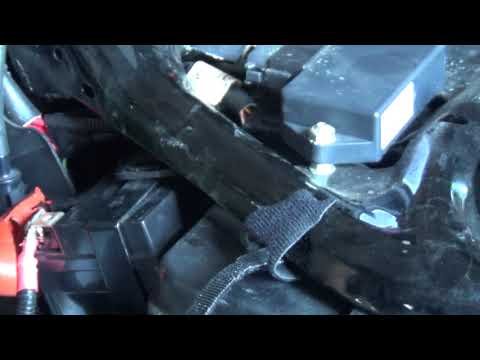
After discovering that the battery side cover on a Harley-Davidson Sportster was not staying attached, the creator investigated the clips and demonstrated retaining the cover with hook-and-loop straps. The video transcript describes removing two clips and using longer straps that can be fitted through the openings.
Watch the Original Handyman Problem Fixer Video

View the original YouTube demonstration. This written companion uses the video description and available transcript together with general maintenance guidance; it is not a substitute for the manufacturer’s instructions.
Why a cover comes loose
A worn clip, missing grommet, misaligned tab, vibration, or damaged replacement cover can all reduce retention. Check the seat and adjacent trim, and compare the assembly to the motorcycle manufacturer’s parts diagram before modifying anything.
What the video demonstrates
The creator shows removing two clips, fitting long hook-and-loop strips through the available areas, securing the side cover, and trimming excess strap. This is an account of the video demonstration, not an assurance that it is an approved replacement for factory retention hardware.
Safety and fitment checks
Keep straps and loose ends away from hot exhaust parts, moving components, sharp frame edges, and wiring. Verify that no strap contacts or compresses the battery terminals, cables, or electronics. A securely installed cover should not rattle or move during a gentle stationary inspection.
Consider factory replacements
The most dependable solution may be new correct clips, grommets, or mounting hardware. Check your exact Sportster model year and part number before purchasing replacement side covers or retention products. Don’t road-test the bike until the cover is firmly secured.
Product links from the original video
Affiliate disclosure: As an Amazon Associate, I earn from qualifying purchases. These links were shared with the original demonstration; product selections and listings may have changed. Check compatibility, current specifications, and relevant safety instructions.
For more how-to videos, visit the Handyman Problem Fixer video library.



0 Comments