
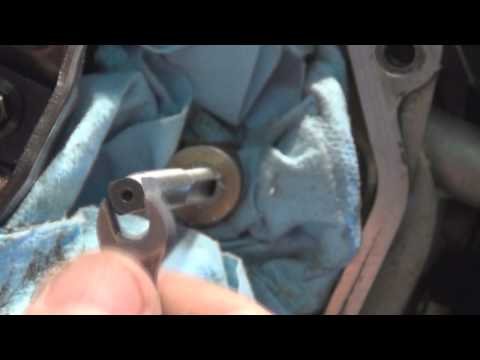
A bolt that spins without tightening, binds unexpectedly, or pulls out of a threaded hole may be telling you that the internal threads are damaged. Sometimes light damage can be cleaned up. More serious damage may call for a thread insert or a replacement part.
Watch the Handyman Problem Fixer Thread-Repair Video

The original video on rethreading a stripped bolt hole provides a visual companion to this guide. The general repair guidance here should be checked against the specific component and its service manual.
First, Find Out What Failed
- Damaged bolt threads: The bolt itself may be worn, stretched, or cross-threaded.
- Damaged internal threads: Material inside the hole has stripped or deformed.
- Contamination: Rust, paint, or debris may make otherwise usable threads feel damaged.
- Incorrect hardware: A bolt with the wrong diameter or thread pitch can destroy the hole.
Compare the fastener to the equipment manufacturer’s specification before repairing anything. Never force an uncertain bolt into a hole.
Which Thread-Repair Method Makes Sense?
Thread chaser
A thread chaser can straighten or clean lightly damaged existing threads without intentionally cutting a new thread profile. It is often the preferred first option when the basic thread shape remains sound.
Matching tap
A correctly sized tap can sometimes restore limited thread damage, but it also cuts metal. Using the wrong size, starting at an angle, or cutting beyond the original profile can weaken the hole. Follow the material and tool manufacturer’s guidance.
Thread insert
When internal threads are substantially missing, a compatible threaded-insert repair system may restore a threaded attachment. Inserts require precise drilling and tapping dimensions; use the kit’s instructions and verify that the component is suitable for this type of repair.
General Repair Checklist
- Remove the component from service and make the work area stable and accessible.
- Confirm bolt diameter, thread pitch, hole depth, and whether the threads are blind or through-hole.
- Inspect both the fastener and the hole under good lighting. Replace a damaged bolt.
- Choose a manufacturer-approved thread chaser, tap, or insert system for the actual damage.
- Keep the tool correctly aligned; remove chips and debris as directed, protecting internal components.
- Install the specified fastener and tighten to the manufacturer’s torque value if a safe repair has been completed.
When Not to DIY This Repair
Do not improvise repairs on steering, suspension, brakes, lifting equipment, pressure-containing parts, or other safety-critical components. In those situations, obtain the service procedure or consult a qualified mechanic. A bolt that appears tight is not proof that the connection has regained its designed strength.
Avoid These Common Mistakes
Using a larger random bolt, mixing metric and inch pitches, over-tightening, working with misaligned tools, and letting chips fall into an engine or gearbox are common ways to turn a small thread problem into a much more expensive repair.
Browse more repair videos and practical DIY guides.
Tool Link From the Original Video Description
Affiliate disclosure: As an Amazon Associate I earn from qualifying purchases. If you buy through an affiliate link, Handyman Problem Fixer may receive a commission at no extra cost to you. The linked item may have changed since the original video.

0 Comments