
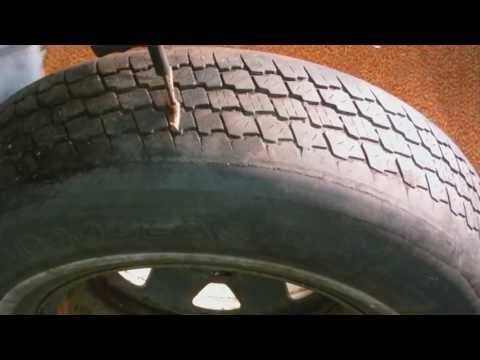
In this Handyman Problem Fixer video, the creator makes a demonstration puncture with a nail and shows the use of a tire plug kit. This article explains how to judge whether a damaged tire is suitable for professional repair and why an exterior plug alone should not be assumed to be a permanent fix.
Watch the Original Handyman Problem Fixer Video

Watch on YouTube. This is an independent written companion guide based on the video description and general repair guidance, not a word-for-word transcript.
Is a puncture repair appropriate?
The location and extent of tire damage matter. Sidewall and shoulder damage should not be repaired. For passenger tires, punctures in the repairable tread area may be repairable only when within applicable industry and tire-manufacturer limits and when there is no internal damage from driving underinflated.
What the video shows
A plug kit typically contains a reaming tool, an insertion tool, and sealing strips or plugs. It is useful to understand the components and what the process looks like, but watching a demonstration does not confirm a given road tire is safe to return to use.
What a complete repair requires
Industry-recommended permanent puncture repair normally requires dismounting the tire, inspecting its inside, sealing the injury channel, and patching the inner liner with an appropriate combined repair. A plug inserted from outside without internal inspection is not a substitute for that full assessment.
When to replace instead
Replace the tire if the puncture is outside the permitted tread area, the tire has been driven flat, cords are damaged, multiple repairs overlap, or the tire manufacturer disallows the repair. Check tire pressure regularly and investigate any continued air loss.
Product links from the original video
Affiliate disclosure: As an Amazon Associate, I earn from qualifying purchases. These links were originally shared with the demonstration and may lead to changed listings. Check current specifications, compatibility, and safety guidance before ordering.
See more tutorials in the Handyman Problem Fixer video library.


0 Comments