
Practical guide • Updated October 11, 2026
A useful workshop does not have to fill a garage. It can begin with a stable work surface, a clear walking path and a place to put the parts of one unfinished project. The difficult part is usually not finding more space. It is deciding what the space must do and keeping unrelated storage from taking it over.
A small DIY workspace works best when you organize it around real tasks. Assembling a drawer, repairing a loose handle and preparing a picture for hanging require different arrangements from cutting large sheets of material. This guide helps you create a manageable corner for ordinary household projects, choose storage that earns its place and develop a reset routine that makes the next job easier to begin.
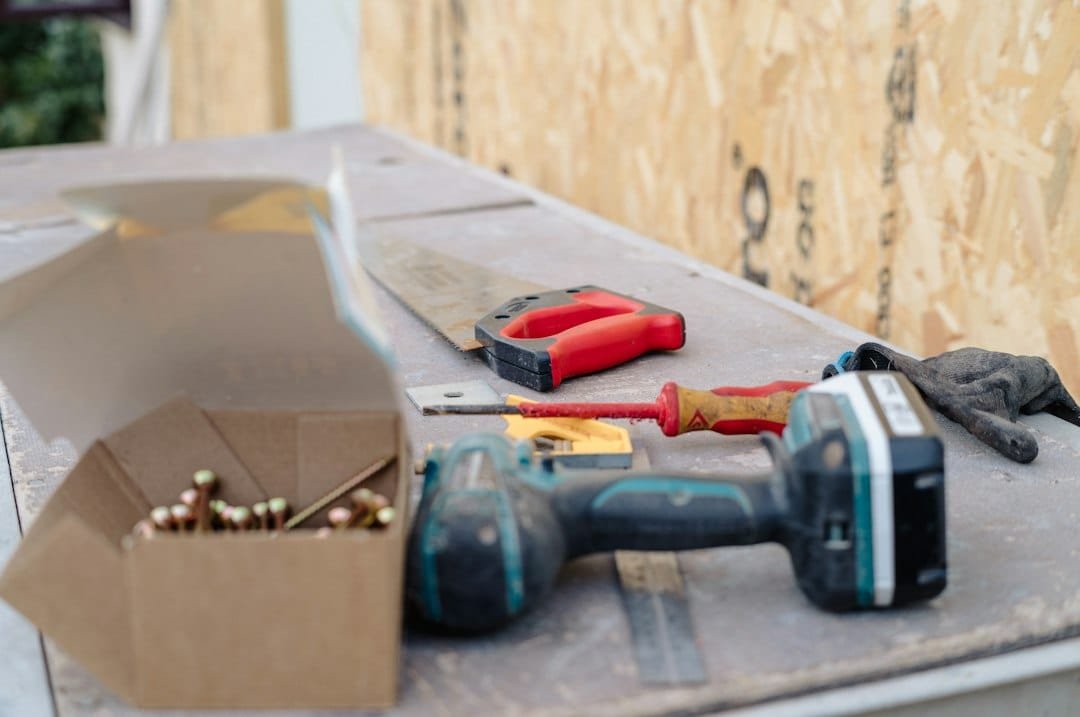
Featured illustration: Illustrative stock photograph. Photo by Annie Spratt / Unsplash. The image does not identify a local property or location.
Define the jobs your workspace should support
Write down the projects you actually expect to complete over the next few months. Be specific. “Work on the house” is too broad to guide an arrangement. “Assemble two shelves, replace cabinet pulls and sort picture-hanging hardware” tells you what surface area and storage would be useful.
Separate preparation from the actual work. You might use the corner to measure parts, organize hardware and read instructions, then perform the installation elsewhere. That distinction keeps you from designing a large shop for work that happens in a bedroom or kitchen anyway.
Set boundaries for activities the space cannot safely support. A corner near household storage may be unsuitable for dusty cutting, finishing products or noisy equipment. Read the requirements for each tool and material, including ventilation, clearances and storage. Do not force a task into a small room simply because the tool fits through the doorway.
Clear the walking route first
Before arranging a bench, establish a clear route to and from the area. You should be able to carry ordinary materials without stepping over loose cords, bags or offcuts. Keep exits, doors and required access to equipment unobstructed. A project corner should not become a barrier to routine household use.
Look at the route while carrying something representative of your projects. A shelf panel makes a tight turn more obvious than walking through empty-handed. Think about where you will set a piece down if someone needs to pass. Planning that pause is easier than improvising with a heavy or awkward object in your hands.
Do not use the walking route as temporary storage that becomes permanent. Give deliveries and project materials a designated landing place. If the landing place is full, address it before bringing in more. A small workspace stays workable when it has a capacity limit you actually respect.
Choose a work surface for stability
A bench should suit the loads and tasks you intend to put on it. Check the manufacturer’s requirements and rated use for a purchased product. If you are considering a folding surface, understand its locking mechanism and verify that it is correctly set up before working.
Stability matters more than appearance. A surface that shifts while you are applying pressure is frustrating and can be unsafe. Consider the floor, the way the bench is supported and whether the workpiece can be held using appropriate equipment. A decorative table is not automatically a suitable workbench.
Leave space around the surface for the intended work. You may need access from more than one side to assemble an item. If the corner is too tight, use the area for preparation and choose a different safe location for assembly. That is a useful design decision rather than a failure to create a proper workshop.
Divide storage into three simple groups
Keep frequently used tools close to the surface, specialty tools in a separate accessible location and consumables in labeled containers. The point is to make the items you reach for regularly easy to identify without letting every possession occupy prime space.
Avoid sorting solely by how attractive a display looks. A screwdriver hidden behind a decorative row of unused tools is still inconvenient. Group items by the way you use them. Measuring tools can share a drawer or pocket. Common driving bits can stay near the screwdriver or drill they fit.
Label containers in language you will understand months later. “Cabinet hardware” is clearer than “miscellaneous.” “Picture hooks and manufacturer instructions” is better than “wall stuff.” Leave enough room to return an item without rearranging the entire container. Storage that is difficult to reset will eventually be ignored.
Give unfinished projects their own container
Loose parts are one of the fastest ways to lose a work surface. Use a project tray, bin or box sized for the parts you need to retain. Include the instructions, hardware, measurements and a note describing what remains to be done.
Label the project with a name and date. An example might be “hallway shelf, brackets selected, confirm wall construction before installation.” That note prevents someone else from mistaking the box for leftovers. It also lets you return to the job without spending half an hour reconstructing your earlier decisions.
Set a limit on simultaneous projects. If the space comfortably holds one active project and one waiting project, honor that limit. Starting a third can turn a usable corner into a collection of incomplete ideas. Finish, deliberately postpone or retire something before adding another bin.
Improve visibility before adding equipment
Good lighting makes measurements, labels and damaged parts easier to inspect. Arrange appropriate lighting so your body does not block the main source while you work. Choose equipment that can be placed securely and used according to its instructions.
Do not balance a lamp on an unstable stack or route a cord across a walking path. Check the electrical requirements for the actual equipment and location. If the space needs additional outlets or other electrical changes, have that work evaluated by a qualified professional rather than extending a temporary setup indefinitely.
Use clear labels and visible storage alongside lighting. You should be able to tell where a tool belongs without opening six boxes. Visibility reduces unnecessary handling and makes it easier to notice when an item is missing or damaged. It is often a better first investment than another storage cabinet.
Keep materials within their requirements
Paints, adhesives, batteries and other materials have specific storage instructions. Keep their original labels and follow those instructions for temperature, ventilation and handling. A basement corner or garage may change conditions substantially through the year.
Do not pour unidentified leftovers into an unlabeled container to make the shelf look uniform. Identification matters for use, disposal and emergencies. Separate damaged or questionable items from the things you routinely reach for, then determine the appropriate local disposal or handling process.
Store heavy items so you can access them safely. Avoid putting a bulky tool high above the bench merely to clear floor space. Consider how you will lift it down and where it will land. Space saved on a shelf is not useful if retrieving the item requires an unstable climbing arrangement.
Build a preparation habit
Before each job, read the instructions and gather only what the task requires. Check the parts list and confirm that the materials are suitable. Put a notebook or project sheet beside the work rather than relying on memory for measurements.
Plan how to hold the workpiece and where removed hardware will go. A small tray can prevent screws from rolling into a floor crack. Photograph an assembly before taking it apart when that is useful and appropriate. Good preparation protects both the project and your ability to put it back together.
Establish a stopping point. If the job reveals an unfamiliar material, damaged component or missing instruction, pause rather than forcing completion. The workspace should help you make a controlled decision. It should not make you feel committed to continuing just because every tool is already laid out.
Reset the space after each session
Reserve a few minutes to return tools, clear debris using an appropriate method and secure unfinished work. Follow tool instructions for shutdown and storage. Leave the surface ready for the next session instead of using it as a shelf for everything you do not want to sort.
Record the next action before putting the project away. “Need compatible replacement screw” is more useful than “finish later.” Keep the relevant dimensions and photographs with the project. If you must buy something, add it to one shopping list rather than leaving several unrelated notes around the room.
Inspect tools while returning them. A worn bit, damaged cord or missing component deserves attention before the next job. Place questionable equipment aside and follow the manufacturer’s repair or replacement guidance. Do not put it back into the ready-to-use group where the problem will be forgotten.
Review the arrangement after real use
After a few projects, notice what caused friction. Did you keep walking elsewhere for a tape measure? Did hardware cover the bench? Did a storage door block the path? Adjust the layout based on those repeated problems instead of reorganizing simply for a new look.
Remove items that have no clear role in the workspace. You can keep occasional equipment elsewhere if its storage requirements allow. Protect the surface and the route that make the corner useful. An empty section of bench is working space, not wasted space that must be filled.
The best small DIY workspace helps you prepare, work within your limits and reset without a major cleanup. Start with one suitable surface and one organized project. Add storage when it solves a demonstrated problem. Find more practical project ideas at Handyman Problem Fixer and let the jobs you actually complete guide how the workspace grows.




0 Comments