
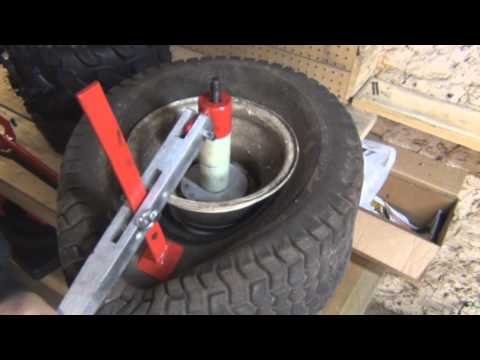
After earlier changing a Cub Cadet tire with pry bars, the creator returned with a mini tire changer for a follow-up demonstration. This article compares the general tasks involved and the precautions necessary when handling small-equipment tires and rims.
Watch the Original Handyman Problem Fixer Video

Watch on YouTube. This is an independent written companion guide based on the video description and general repair guidance, not a word-for-word transcript.
Why use a mini tire changer?
Small tires often fit tightly against their rims. A purpose-built changer can stabilize the wheel and provide more repeatable leverage than improvised ground-level methods. That does not make every tire suitable for the same machine: check the machine’s wheel-size range, mounting method, and the tire’s construction.
Prepare safely
Follow the mower or ATV owner’s manual for wheel removal. Shut off the machine, prevent unintended movement, support it securely, and fully deflate the tire before attempting to break the bead. Do not use force against a pressurized wheel or on a damaged rim.
Protect the bead and rim
Use compatible bead lubricant, protect the sealing surfaces, and inspect for cracks, corrosion, bent flanges, and valve-stem damage. Replace components that do not meet manufacturer specifications. Use care to avoid pinching an inner tube, if fitted.
Inflation hazards
Tire and rim failures during inflation can cause serious injury. Do not exceed specified pressures or improvise with combustible gases. Bead seating and difficult inflation are reasons to use trained tire service personnel and rated equipment. This is especially important for multi-piece wheels.
Product links from the original video
Affiliate disclosure: As an Amazon Associate, I earn from qualifying purchases. These links were originally shared with the demonstration and may lead to changed listings. Check current specifications, compatibility, and safety guidance before ordering.
See more tutorials in the Handyman Problem Fixer video library.

0 Comments