

Affiliate disclosure: As an Amazon Associate I earn from qualifying purchases. This article contains affiliate links.
Practical guide • Updated October 11, 2026
A mirror that fogs during a shower is familiar. Walls that stay wet, a ceiling that repeatedly spots or a room that still smells damp hours later deserves closer attention. The challenge is figuring out whether the moisture comes from normal use, inadequate ventilation, a leak or several problems working together.
Bathroom humidity and condensation are easier to investigate when you collect observations instead of buying a product immediately. A fan, a dehumidifier and a tube of caulk each address different situations. This guide helps you document the pattern, make reasonable maintenance checks and recognize when qualified help is appropriate. It does not treat repainting a stain as proof that the moisture problem is solved.
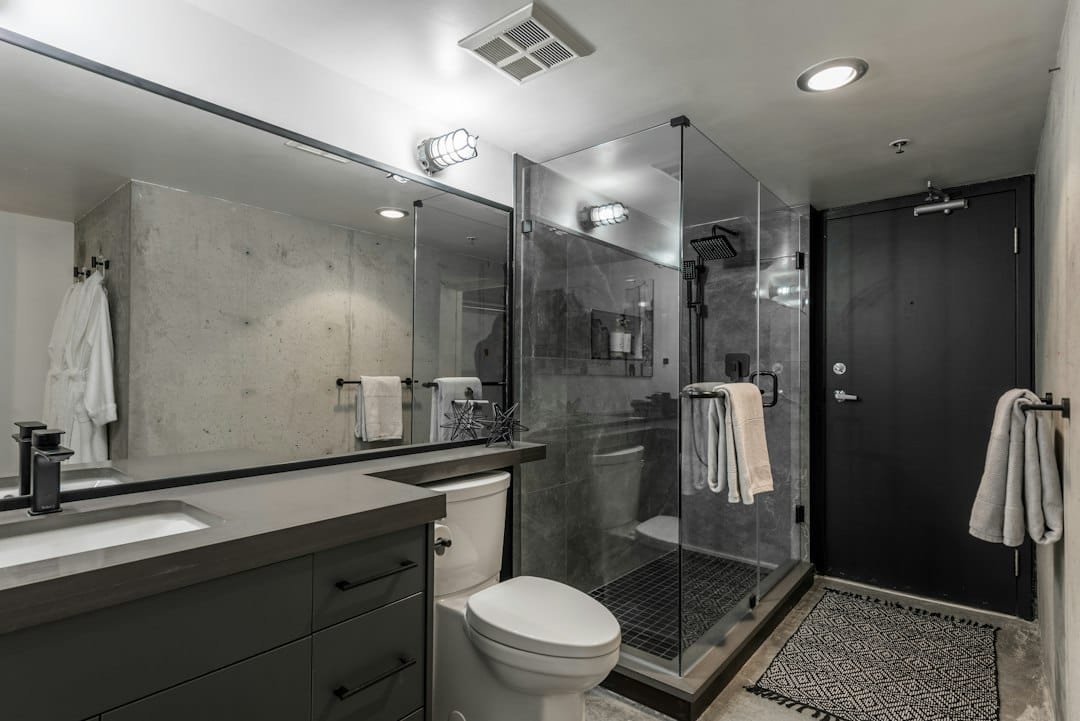
Featured illustration: Illustrative stock photograph. Photo by Lotus Design N Print / Unsplash. The image does not identify a local property or location.
Start with a moisture diary
For several days, record when the room feels damp and what happened beforehand. Note shower duration, whether the fan was used, whether the door was closed and how long visible moisture remained. Add observations about weather and whether the rest of the home also feels humid.
Photograph recurring areas from the same position. A stain that changes after rain suggests a different investigation from condensation that appears after every shower. Include the time and location in your notes. “Wet ceiling above shower at 8 a.m.” is more helpful than “bathroom bad again.”
Avoid creating unsafe conditions simply to test a theory. You do not need to run extra showers, block airflow or disturb suspect material to gather useful information. Normal household use already gives you a pattern to study. If water is actively leaking, deal with that promptly rather than waiting for a longer diary.
Understand the basic moisture problem
Condensation can form when moist air meets a sufficiently cold surface. That explains why it may appear on a mirror, window or wall without a plumbing leak directly behind it. It does not explain every water mark, and appearances alone are not enough to rule out other causes.
The EPA’s guide to mold and moisture emphasizes moisture control. It recommends keeping indoor humidity below 60 percent, ideally around 30 to 50 percent, and drying wet materials promptly. Those general goals help frame the investigation; they do not diagnose your bathroom or establish that a particular fan is adequate.
A small humidity meter can add context if you use it consistently. Follow its instructions for placement and allow readings to settle. Record a baseline before bathing and check again afterward. Use the trend as information, not as proof that one isolated number tells you everything about hidden moisture or building performance.
Check the fan’s everyday operation
Listen for unusual changes and look for obvious dust at an accessible grille. A fan that makes noise is not automatically moving enough air, and a grille that looks clean does not establish where the duct goes. If you have the model information, read its maintenance and operation instructions.
Perform only accessible cleaning that the manufacturer permits and that you can do safely. Do not remove electrical components or reach into moving equipment. If access requires an unstable ladder setup or work near energized parts, get appropriate help. A routine cleaning should not become an improvised electrical repair.
Document what you can observe without disassembly. Does the switch work consistently? Does the sound change? Is the grille damaged? Give those details to a qualified contractor if performance seems poor. Specific observations help distinguish a control problem, maintenance issue and installation concern.
Find out where the exhaust actually goes
The destination and condition of the duct matter. Ask a qualified professional to verify unfamiliar or inaccessible exhaust arrangements. Do not assume that moisture is safely leaving the building just because the bathroom has a fan. An installation can need assessment even when the equipment turns on normally.
If you already have installation records, locate them before arranging service. A photograph from a previous renovation or a model label may save time. Note whether the problem started after work in the attic, roof or bathroom. That timing can guide the questions without proving who caused the issue.
Do not enter an unsafe attic, walk on unsupported surfaces or disconnect ducting to investigate. The purpose of this checklist is to improve the information you can provide. A contractor should evaluate duct condition, routing and the suitability of the installation when those details are beyond an ordinary accessible check.
Look for leaks separately from condensation
Inspect visible supply connections, the base of fixtures and accessible areas beneath sinks for signs of water. Use a light and look without disturbing damaged materials. Notice whether moisture appears during fixture use, afterward or regardless of bathroom activity.
Check whether the damp area extends beyond the bathroom. Water on a ceiling below the room, staining near a wall joint or repeated wet flooring can call for prompt professional assessment. A surface that dries temporarily may still have an ongoing source behind it. Do not cover the evidence before someone can inspect it.
Keep the distinction clear in your notes. Condensation on a mirror is one observation. Water beneath a sink is another. A single purchase may not address both. If an active leak is present, follow an appropriate shutoff and repair plan for the situation rather than relying on ventilation to evaporate the water.
Make sensible habit changes
Use existing ventilation according to its instructions and household requirements. Pay attention to how the room dries after ordinary bathing. Shortening unnecessary hot-water use may reduce the moisture you add, but it does not repair a faulty installation or hidden leak.
Avoid leaving wet towels piled in a corner or damp mats folded against the floor. Hang or dry them in a suitable way. Keep items from blocking the fan grille or an intended airflow path. These ordinary changes make it easier to judge the room’s performance instead of adding several extra moisture sources.
Be cautious about opening a window as a universal solution. Outdoor conditions, security, weather and the building’s ventilation all matter. In some circumstances outside air may be humid too. Observe the result and use a plan suitable for your home rather than assuming that every bathroom benefits from the same routine.
Do not paint over an unexplained stain
A fresh coating can improve appearance while concealing the evidence of an unresolved problem. Photograph the area and determine why it is getting wet before choosing a finish. If the substrate is damaged, the repair may need more than cleaning and paint.
EPA advises against painting or caulking over moldy surfaces without addressing the problem. Its guide explains that larger, hidden or complicated contamination can require experienced help. Avoid disturbing suspect growth or spreading dust while trying to make the room look better for a photograph.
In an older home, coating removal can introduce additional hazards such as lead-containing paint. Establish appropriate precautions before scraping, sanding or drilling. A bathroom refresh should start with an understanding of both the moisture source and the materials you would disturb.
Evaluate products by the problem they solve
A humidity meter helps you observe conditions. A dehumidifier may manage moisture in a suitable setting. A replacement fan may be relevant if a professional determines the current arrangement is inadequate. None of those purchases should replace finding the reason water is present.
Compare the whole installation and operating requirements. Consider appropriate placement, electrical needs, drainage, maintenance and the manufacturer’s limits. Do not put an appliance near water or use an extension arrangement that its instructions prohibit. A product that works in a basement may not be appropriate beside a shower.
Keep purchases modest until the diagnosis is clearer. Buying several products at once makes it harder to know which change helped. It also encourages you to continue spending when the actual issue is a leak or duct problem that needs professional attention.
Prepare for a contractor visit
Gather the diary, photographs, fan model information and any renovation records. Explain when the problem began and what you have already changed. Include whether there are water marks in adjacent rooms or below the bathroom. This gives the visit a useful starting point.
Ask what the contractor believes is causing the moisture and what evidence supports that conclusion. Request an explanation of the proposed repair, access needs and follow-up checks. A useful recommendation connects the observed problem to a specific intervention rather than simply offering the largest available fan.
Keep written records of the work. After the repair, continue ordinary observations under similar conditions. If the moisture persists, your before-and-after notes can help the professional reassess. Do not describe a problem as solved only because a stain has been hidden by new paint.
Build a simple maintenance routine
Once the room is working well, make ventilation and visible moisture checks part of regular housekeeping. Keep accessible grilles clean as directed, watch for changed sounds and address wet materials promptly. Save the equipment instructions where other household members can find them.
Review the bathroom after seasonal changes. Colder surfaces, different outdoor conditions and altered household use can change what you notice. A brief check helps you distinguish a new pattern from the old one. It also makes small maintenance issues easier to address before damaged finishes become the most visible symptom.
The useful goal is a bathroom that dries appropriately after normal use and has no unexplained wet areas. Reach that goal by observing, correcting verified causes and checking the result. For more practical household troubleshooting, visit Handyman Problem Fixer and use the advice alongside the actual equipment instructions and professional assessment your home requires.



0 Comments