
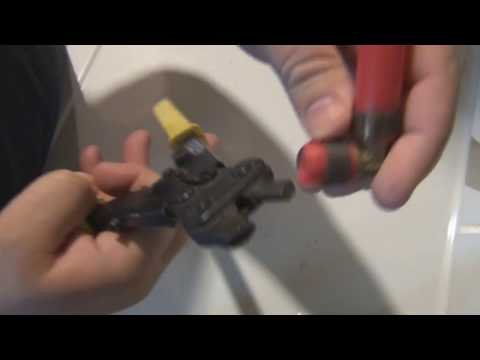
This video revisits a viewer concern about cutting PEX tubing off a brass fitting. The creator explains why he changed his removal approach and identifies the Lenox tubing cutter and Apollo crimp-ring cutter used in the demonstration.
Watch the Original Handyman Problem Fixer Video

Watch on YouTube. This is an independent written companion guide based on the video description and general repair guidance, not a word-for-word transcript.
Why the tool matters
A copper PEX crimp ring is a one-time-use connection component. Attempting to pry or slice it away with an unsuitable tool can scratch the fitting barb, distort the ring, or damage nearby tubing. A dedicated cutter helps control where the cutting force goes. Different brands and sizes of PEX fittings can have different reuse requirements, so identify the exact system first.
Before disconnecting the line
Shut off the water, drain residual pressure, and protect the work area from spills. Expose enough pipe for controlled tool access. Determine whether the connection uses a copper crimp ring, a stainless-steel cinch clamp, or another fitting method; the correct removal technique changes with the system. Keep new tubing, rings, and approved fittings available.
What to inspect afterward
A fitting that looks reusable is not automatically approved for reuse. Examine the barbs and shoulders for scratches, gouges, flattening, corrosion, or deformation. Replace parts whenever damage is present or the manufacturer does not permit reuse. Use the proper calibration gauge after crimping a new connection and inspect carefully for leaks after restoring water pressure.
Further reading
See our original crimp-ring removal companion guide for more inspection and leak-prevention information. This article summarizes the topic of the video and adds general maintenance context; it does not substitute for the fitting maker’s instructions.
Product links from the original video
Affiliate disclosure: As an Amazon Associate, I earn from qualifying purchases. These links were originally shared with the demonstration and may lead to changed listings. Check current specifications, compatibility, and safety guidance before ordering.
See more tutorials in the Handyman Problem Fixer video library.

0 Comments